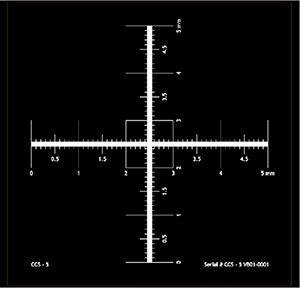
Micro-Tec Individual Graticule Calibration Standards
ideal for low magnifications, large areas, microscope stages and digital imaging systems
Introduction
|
The new and innovative Micro-Tec individual graticule calibration standards have been designed using an ultra-flat conductive silicon substrate with corrosion resistant Cr lines. They are manufactured utilizing the latest semiconductor manufacturing techniques. The Micro-Tec graticule calibration standards provide high contrast images for ease of calibration. Each of the calibration standards has a unique product ID and serial number etched on the die. Each of the Micro-Tec graticule calibration standard is fully NIST traceable and are supplied with a certificate of traceability. The Micro-Tec graticule calibration standards are ideally suited for:
The Micro-Tec family of silicon based graticules for bright-field applications consists of:
|
CCS-5 5mm cross scale, 0.01mm div., Si/Cr, opaque |
The deposited Cr lines are in the same focus plane as the substrate, better defined and provide more signal than etched patterns. They are also less prone to accumulate dust particles in the patterns.
General specifications for all Micro-Tec graticule standards:
| Substrate | 525µm thick boron doped ultra-flat wafer with <100> orientation |
| Conductive | Excellent, 5-10 Ohm resistivity |
| Lines |
75nm thick, 5.0µm wide pure Chromium lines |
| Identification | Product ID with serial number etched |
| Mounting | Unmounted standard |
| Supplied | Supplied in a Gel-Pak box |
Specifications for the individual Micro-Tec graticule calibration standards :
|
Product # |
Name |
Pattern size |
Units / Div |
Die size |
Traceable |
Mounting |
|
AU-31-T33100 |
Micro-Tec CCS-1 |
1mm cross |
0.01mm |
3.5x3.5mm |
Yes, NIST |
Optional |
|
AU-31-T33200 |
Micro-Tec CCS-5 |
5mm cross |
0.01mm |
6.0x6.0mm |
Yes, NIST |
|
|
AU-31-T33300 |
Micro-Tec CCS-10 |
10mm cross |
0.01mm |
12.0x12.0mm |
Yes, NIST |
|
|
AU-31-T33400 |
Micro-Tec LCS-10 |
10mm long |
1.0/0.1/0.01mm |
6.0x12.0mm |
Yes, NIST |
|
|
AU-31-T33500 |
Micro-Tec CCS-2.5 |
1 inch cross |
0.001inch |
3.5x3.5mm |
Yes, NIST |
|
--> An alternative calibration standard is the MTC-5 multiple target calibration standards with cross scale pattern, circles, squares and hexagons. Covers both magnification calibration and images distortion assessments. Available for both brightfield and darkfield applications.
Individual Graticules
-
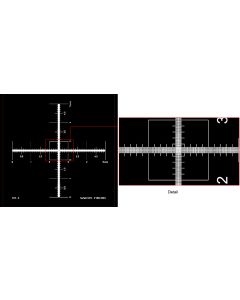 CCS-5 Micro-Tec 5mm cross scale, 0.01mm div., Si/Cr, opaque, unmountedSKU: AU-31-T33200Units Per Package: 1From: $182.16
 -
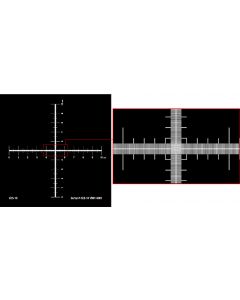 CCS-10 Micro-Tec 10mm cross scale, 0.01mm div., Si/Cr, opaque, unmountedSKU: AU-31-T33300Units Per Package: 1From: $335.36
 -
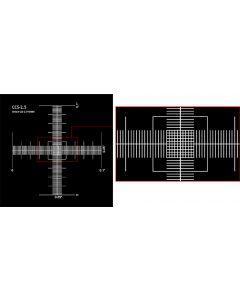 CCS-2.5 Micro-Tec 1inch cross scale, 0.001inch div., Si/Cr, opaque, unmountedSKU: AU-31-T33500Units Per Package: 1From: $92.48
 -
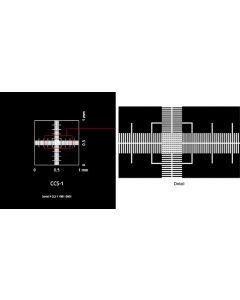 CCS-1 Micro-Tec 1mm cross scale, 0.01mm div., Si/Cr, opaque.SKU: AU-31-T33100Units Per Package: 1From: $92.48
 -
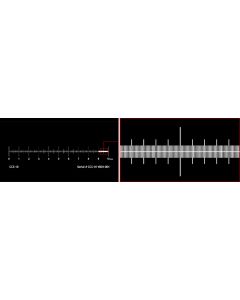 LCS-10 Micro-Tec 10mm linear compound scale, 1, 0.1, 0.01mm div., Si/Cr, opaque.SKU: AU-31-T33400Units Per Package: 1From: $210.18

